The Grid System: How to Align Pantry Labels for a Custom Look
Eliminate the visual noise of crooked pantry labels by using a physical tape grid system that guarantees professional alignment on any budget.


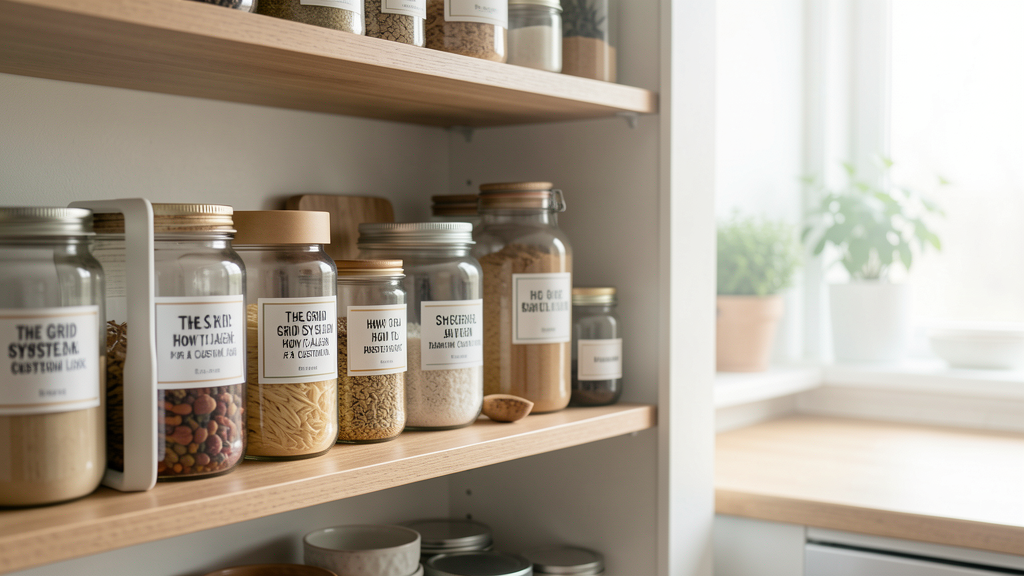
There is a distinct difference between a home that looks organized and a home that looks expensive. The disparity often comes down to millimeters. I have walked into countless pantries this year where the homeowner has invested in matching glass jars and purchased beautiful vinyl decals, yet the overall effect feels chaotic. The culprit is almost always alignment. When labels are applied by "eyeballing it," the human eye—trained to seek symmetry and order—immediately spots the vertical drift. A label rotated two degrees to the left signals "DIY effort" rather than "custom interior design."
We are going to fix that using a method I call the Grid System. This is not about buying expensive tools; it is about using low-tack painter's tape to create a physical guide on your containers. This technique bridges the gap between a $2 pantry refresh and a high-end bespoke installation. By creating a temporary grid, you remove the need for guesswork, allowing you to apply handwritten or printed labels with the precision of a master printer.
Why Our Brains Reject the "Almost Straight" Line
Before we get to the tape, we need to understand the visual mechanics at play. When a row of jars sits on a shelf, we view them as a collective unit. If the text on the jars slopes downward like the baseline of a sad sentence, the brain interprets it as clutter, regardless of how uniform the containers are. It creates a subconscious "visual noise" that disrupts the calm aesthetic we strive for in stylish-organization.
This is similar to the debate we see in libraries. Just as arranging books by color often looks so tacky because it destroys the structural verticality of the spines, misaligned labels destroy the architectural lines of your storage. The goal here is to create a rigid visual structure that makes the contents of the jar secondary to the beauty of the order itself.
The Tools Required for Surgical Precision
You do not need a laser level for this. In fact, for round surfaces, a laser level is often a hindrance because the beam skims off the curve. You need tactile tools. Gather these specific items before you touch a jar:
- 1/4 inch or 1/2 inch Blue Painter's Tape: Avoid the "clean release" delicate variety if your jars are cold glass, as it won't stick well, but ensure it is low tack enough not to leave residue. Do not use masking tape; it is too aggressive.
- A Metal Ruler or Straight Edge: It must be rigid. A fabric tape measure will bow and ruin your angles.
- A Pencil (Standard HB): You will use this to mark the tape, not the jar.
- Your Labels: Whether you are using a Cricut, a P-Touch, or writing on premium cardstock, have them cut and ready.
Establishing Your Vertical Baseline
The first step in the Grid System is determining where the label sits vertically. Do not measure from the top of the jar down. Kitchen counters and shelves are rarely perfectly level, and if your jars have lids of varying heights, the tops will not align. Measure from the bottom up. The bottom of the jar is the constant point of contact with the shelf.
- Mark the Height: Decide how high you want the text. For standard 16oz mason jars or repurposed pasta sauce jars, the sweet spot is usually 1.5 inches up from the bottom ridge.
- Wrap the Guide: Take your painter's tape and tear off a strip long enough to wrap around the jar with overlap. Align the edge of the tape exactly with your measurement mark. Wrap it around the vessel, keeping the tape taut. As you overlap the ends, ensure the tape line meets perfectly. If it spirals, peel it off and start again. This strip creates your "floor," ensuring that no label sits lower or higher than its neighbor.
Creating the Horizontal Trap
Now that we have the vertical position locked, we need to center the label horizontally. This is where most people fail, trying to spin the jar and stick the label simultaneously.
- Find the Center: Lay your jar on its side on a flat surface. Measure the diameter of the jar. Divide that number by two. Mark this center point on your vertical strip of tape with a small pencil dot.
- Apply the Spine: Cut a piece of painter's tape about two inches long. Place it vertically, running perpendicular to your horizontal tape strip. Center this vertical piece exactly over that pencil dot. You now have a "T" shape (or a crosshair if the jar is tall enough).
- The Alignment Trap: This intersection is your target. The corner of your label must fit into this 90-degree angle.
The Application: Sticking Without Slipping
With the grid taped to the jar, the anxiety of placement vanishes. You no longer have to hold the label in mid-air and hope it doesn't droop.
- Position the Label: Take your label. Align the bottom-left corner (or center-bottom edge, depending on your label shape) with the intersection of the tape. If your label is a rectangle, the vertical tape acts as a spine for the text, ensuring the words are perfectly straight.
- The Hinge Method: Hold the top edge of the label down with your thumb. Use your other hand to gently peel back the backing paper, exposing the adhesive halfway. Press that exposed half down onto the glass, using the vertical tape as a guide. Once the top half is secure, peel the remaining backing away and smooth the label down towards the bottom. Because your bottom horizontal tape is already there, you cannot place the label too low; the tape stops you.
The Moment of Truth: Removing the Guides
This is the most satisfying part of the process. The label is applied, but the blue tape grid is still obscuring the view.
- Peel Slowly: Do not yank the tape. Pull it back slowly at a 180-degree angle (back on itself). Pulling straight up can lift the edge of a fresh label.
- The Reveal: As the tape comes away, you are left with a label that is mathematically perfect. The baseline is straight. The text is centered. It looks printed on the glass rather than stuck to it.
- Burnish: Once the tape is gone, use a credit card or a squeegee to push out any final air bubbles. Apply firm pressure from the center outwards to the edges.
When This Level of Fussiness Is Necessary
I will be honest: this method takes time. If you are labeling fifty spice jars, this is an afternoon project, not a ten-minute task. There is a trade-off between speed and aesthetic perfection. This brings up the distinction between "functional organization" and "decorative organization."
If you are organizing a chaotic junk drawer, the visual alignment matters less because the items are hidden away. However, the pantry is a stage. It is often visible from the kitchen or dining area. In these high-visibility zones, the Grid System justifies the time investment by elevating the perceived value of your storage.
There are exceptions. If you are using ribbed glass (like classic mason jars) or containers with a strong texture, the tape method is less effective because the label won't sit flush against the surface. In those cases, I recommend applying a clear vinyl decal first to create a smooth "window" before using the tape grid for your final label.
Maintaining the Illusion of Order
Once your jars are labeled, maintaining the look requires discipline. The "custom look" relies on the repetition of the grid. If you buy a new bulk bag of rice and decant it into a mismatched jar, the illusion breaks. Standardize your vessels. This doesn't mean they have to be expensive; it just means they must be identical.
Furthermore, be mindful of how you arrange these aligned jars on the shelf. You should follow the styling rules for open shelves to ensure your hard work on the labels is amplified by the placement. Group items by category but keep the lines straight. Do not stack jars in front of other jars if it obscures the label alignment you spent hours perfecting.
The Grid System is essentially an exercise in patience disguised as a decorating tip. It forces you to slow down and treat a mundane chore—decanting flour—as an act of curation. That shift in mindset is what truly separates a tidy kitchen from a styled one.
Read next

Why Does Arranging Books by Color Often Look So Tacky?
Moving beyond the rainbow trend requires understanding why spectral organization often creates visual noise rather than harmony in a lived-in home.

The $30 Fix: Turning a Junk Drawer into Boutique Storage
A case study on transforming a cluttered kitchen catch-all into a cohesive display using uniform acrylic dividers that mimic high-end retail.