5 Styling Rules for Open Shelves That Don't Require Dusting Every Day
Discover how to hybridize your open shelving with closed storage solutions to maintain that airy aesthetic without becoming a slave to the feather duster.

There is a specific kind of quiet anxiety that plagues the owner of a beautiful, entirely open shelving unit. It usually hits on a sunny Tuesday afternoon when the light hits just right, illuminating the microscopic layer of grey fuzz that has settled on your carefully curated collection of hand-thrown pottery. We have been sold the dream of the "airy" kitchen and the "uncluttered" living room, but the reality of open storage is that it acts as a gravity-fed magnet for dust, cooking grease, and pet hair.
As an editor focused on budget-friendly practicality, I have seen the trend shift significantly in 2026. We are moving away from the Pinterest-perfect, fully exposed shelves of the early 2020s toward a more pragmatic hybrid approach. The aesthetic goal remains visual lightness, but the structural solution involves interspersing closed-front elements to shield our belongings. You do not need to sacrifice the editorial look to save yourself from hours of cleaning. You just need to be smarter about what you expose.
Here are five styling rules to achieve the open-shelf illusion without the maintenance nightmare.
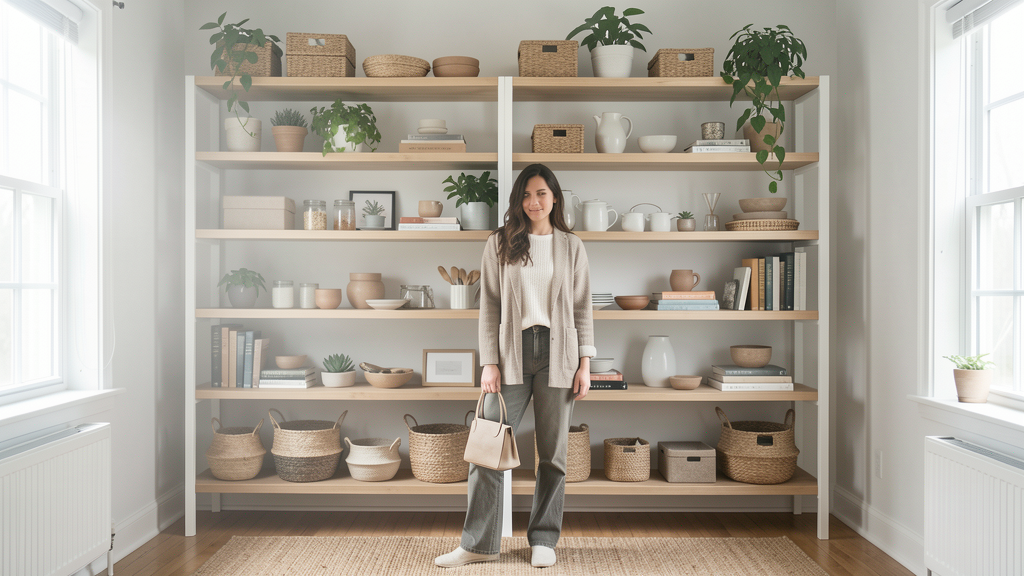
1. The "Anchor and Float" Method Using Storage Bins
The fastest way to ruin the clean lines of a shelf is to scatter small items across every inch of surface area. Every distinct object you place on a shelf creates a "dust perimeter"—the edge around the base where dirt accumulates and requires individual attention. To solve this, we utilize the Anchor and Float method.
This rule dictates that for every three decorative items you "float" openly, you must use one substantial storage bin to "anchor" the arrangement. The bin is the workhorse here. It hides the functional, ugly items—chargers, cables, snack pouches—that would otherwise look messy and collect dust on their irregular surfaces.
The trade-off is visual weight; storage bins are heavier than a single ceramic vase. To keep this from looking heavy, opt for bins with verticality. A tall, rectangular woven seagrass bin or a sleek, lidded fabric box draws the eye up and hides the clutter behind a closed door.
The Look for Less: High-end design blogs often feature the Ferm Living Living Storage Bin in organic cotton, which retails for around $78. You can achieve a nearly identical silhouette and texture using the Threshold Woven Storage Bin from Target. It uses the same natural seagrass material and has a matching lid that hides the contents completely. At $25, it offers a 68% cost reduction while providing the crucial dust-blocking barrier your shelf needs.
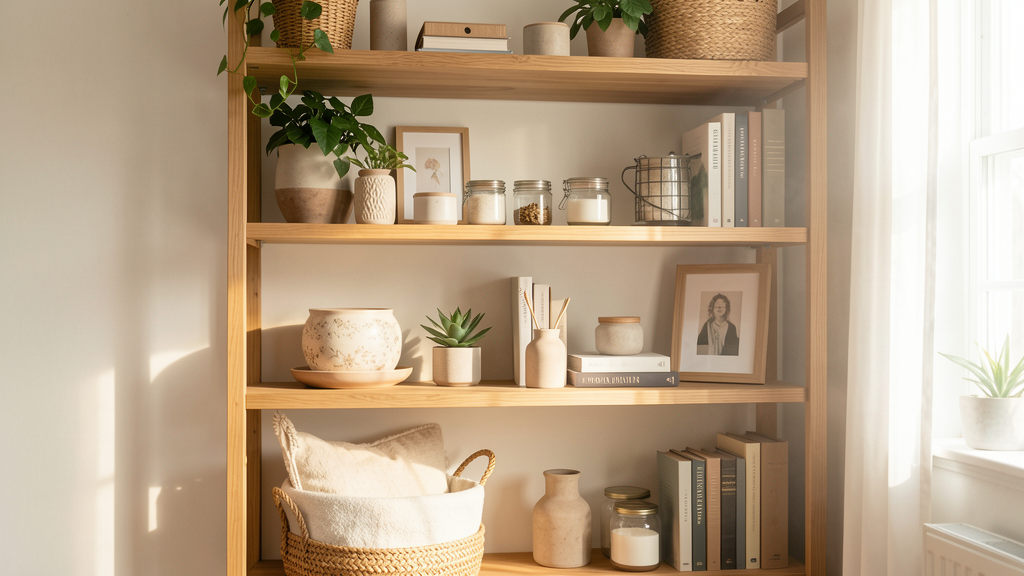
2. Prioritize Lidded Vessels Over Open Bowls
We love the look of a wooden bowl filled with lemons or a ceramic catch-all for keys by the door. However, an open vessel is essentially a dust trap. You have to empty it, wipe it, and replace the contents every week. If you swap that bowl for a lidded vessel, you eliminate the interior cleaning entirely.
When styling shelves, consider the "closed ratio". If you are styling a kitchen shelving unit, dry goods like pasta, coffee beans, and rice should go into canisters with rubber-sealed lids, not just scooped into jars. This isn't just about dust; in 2026, with rising humidity concerns in many urban areas, sealed storage keeps pests out and freshness in.
The visual trick is to treat these lidded items as sculptural objects. A stack of three matching white ceramic canisters looks architectural and clean.
A Concrete Example: I recently worked with a client in a studio apartment who loved the look of apothecary jars. We found a set of Bell Jars at a thrift store for $4 each—totaling $12. We spray-painted the lids matte black to match her shelf brackets. A comparable set of vintage-inspired glass cloches from a luxury boutique would have run her nearly $120. By using the thrifted find, she achieved the "curio cabinet" aesthetic for a 90% reduction in cost, and more importantly, her treasures stay pristine inside the glass.
3. Use the "Back-of-Book" Stacking Technique
One of the most common mistakes I see is lining books up vertically like soldiers in a row. While this allows you to read the spines, it creates deep, horizontal ledges on the top of the books where dust settles, and it exposes the pages to yellowing from sunlight.
Instead, adopt the horizontal stack. When you stack books flat, the top book acts as a shield for the ones beneath it. You only need to wipe the very top surface of the stack, not the spine of every single book.
Furthermore, this method allows you to integrate "closed-front" storage without buying furniture. You can hollow out old books (a classic DIY, but effective) or simply use a heavy, horizontal stack as a base to raise a decorative object, hiding a smaller box or unsightly router behind the stack itself. If you are struggling with how to arrange these stacks without making them look messy, check out my guide on aligning pantry labels to understand how visual lines create order, even with books.
For those tempted to organize these stacks by color for the "rainbow shelf" look, proceed with caution. While popular, it often feels impersonal and can look disjointed if you don't have a perfectly balanced color spectrum. I’ve discussed why arranging books by color often looks so tacky in a previous column, but to summarize: it prioritizes the shelf's decoration over the items' utility. A neutral jacketing or uniform cover approach is far more sophisticated and less distracting.
4. The Tray Corral for Small Trinkets
Sometimes you want to display small items—a framed photo, a travel souvenir, a small bud vase. Individually, these are a nightmare to clean. You have to pick up the photo frame, wipe under it, pick up the vase, wipe under it.
The solution is the "Tray Corral". By placing a tray with raised edges on the shelf and grouping your small objects on top of it, you turn ten dusting points into one. When it’s time to clean, you simply lift the entire tray off the shelf, wipe the board surface, and put the tray back.
The tray acts as a mini-room within the room. It defines the space and signals that these objects belong together. Material-wise, look for acrylic or handled wood trays. Acrylic is particularly good because it is visually lightweight, ensuring your shelf doesn't feel "heavy" with too many opaque objects.
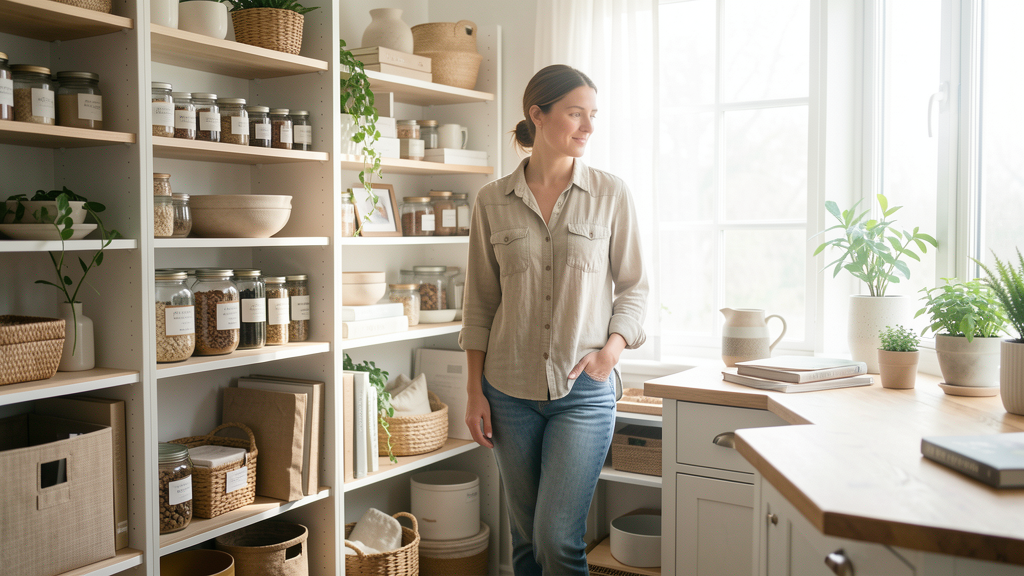
5. The Bottom-Third "Closed Cabinet" Rule
If you are building a shelving unit or retrofitting an existing one like the IKEA Kallax, the Bottom-Third Rule is non-negotiable for practical styling. The bottom 30 to 40% of your shelving should be enclosed with doors or opaque baskets.
Why? Gravity. Dust falls. It settles on the top shelves, drifts down, and accumulates heavily on the shelves nearest the floor. These are also the hardest shelves to access for cleaning, requiring bending or squatting.
By enclosing the bottom section, you are essentially sweeping the dust under a rug that no one can see. You can store your bulkier, less aesthetically pleasing items there—small appliances, extra linens, or that chaotic collection of cables.
If you are working with open wire shelving, you can simulate this by using fabric drawer inserts that cover the wire mesh entirely. This transforms the wire shelf into a solid surface, preventing dust from falling through to the items below and preventing the dreaded "wire shelf imprint" on your linens.
If you find yourself with a "junk drawer" worth of items that don't have a home, this closed bottom-third is the perfect place to hide them. Just ensure you use organizers that make the interior look like a curated boutique display rather than a trash heap, because eventually, you will have to open those doors.
The 80/20 Visual Balance
The ultimate goal isn't to seal your home in plastic; it is to achieve a balance that respects your time. By applying these rules, you are effectively aiming for an 80/20 split: 80% of your shelf surface should be either enclosed, covered by a tray, or occupied by lidded/stacked items, while only 20% is truly open and exposed.
This minority of open space is where you place your "hero" pieces—perhaps a singular art glass vase or a statement sculpture. These few open items become focal points precisely because they are not competing with clutter. You give them the attention they deserve, and you keep your weekend free for things other than dusting knick-knacks.
To see more strategies for maintaining a beautiful home without the upkeep stress, browse the full stylish-organization category. Remember, good design should serve you, not the other way around.
Read next
The Grid System: How to Align Pantry Labels for a Custom Look
Eliminate the visual noise of crooked pantry labels by using a physical tape grid system that guarantees professional alignment on any budget.

Why Does Arranging Books by Color Often Look So Tacky?
Moving beyond the rainbow trend requires understanding why spectral organization often creates visual noise rather than harmony in a lived-in home.