4 Textures You Can Mimic with a Mix of Baking Soda and Paint
Turn cheap, glossy vases into high-end ceramics by mixing pantry staples with acrylic paint for four distinct professional textures.

We have all been there. You find a vase with a perfect silhouette at a discount store, but the surface is a glossy, plastic sheen that instantly lowers the perceived value of the room. It screams "mass-produced." In 2026, the trend toward organic, tactile interiors shows no signs of slowing down, yet the price of hand-thrown ceramics continues to climb. The solution is not buying expensive; it is re-texturing what you already own.
The secret lies in a chemical reaction that happens right in your mixing cup. Baking soda is alkaline, and when mixed with the acrylic polymer binder in paint, it creates a grainy, matte paste that dries to the touch much faster than standard paint. It effectively mimics the absorbency and texture of lime plaster, concrete, or unglazed clay. Below are the four specific recipes I use to mimic high-end materials, transforming a $4 thrift store find into something that looks like it came from a design gallery.
The Velvety Stucco Finish
This is the foundation of the "Modern Mediterranean" aesthetic dominating dining rooms this year. The goal is a smooth, continuous grain that hides imperfections rather than highlighting them. I use this primarily on cylindrical vessels or lamp bases where a seamless look is required.
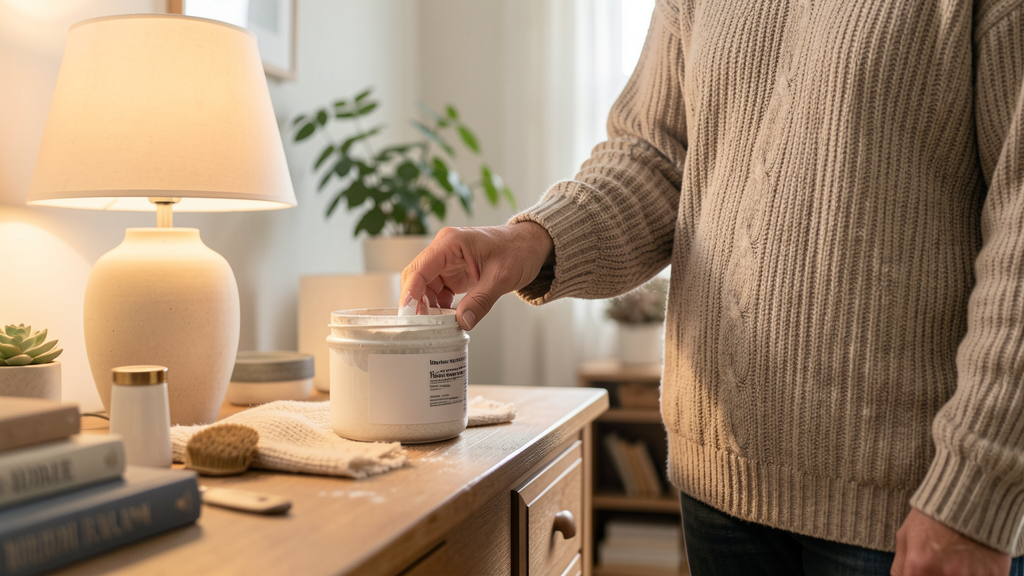
The recipe relies on a specific 1:2 ratio of baking soda to paint. For a standard 12-ounce vase, you will need half a cup of flat latex or acrylic paint and a quarter cup of baking soda. Do not use self-rising flour or baking powder; the additives will create unwanted bubbles and a chemical smell. Mix it until the lumps are gone, but avoid over-mixing, which can break down the granules you want for texture.
Application is where the magic happens. You need a cheap, chip brush—the kind with bristles that are slightly uneven. Working in small, 3-inch sections, dab the paint onto the surface using the tips of the bristles rather than the flat of the brush. Once the section is covered, immediately go back over it with light, crisscrossing X-strokes. This creates a micro-texture that catches the light like traditional plaster. The trade-off with this method is that it dries incredibly fast. You have about a 20-minute window to work the entire piece before the mixture becomes unworkable.
Many people confuse this mixture with commercial chalk paint. While similar in its matte finish, the baking soda mix is grittier and more porous. If you find you enjoy this chemistry, you might want to check out my breakdown of Mixing Your Own Chalk Paint vs. Buying Brand Name: The Cost Breakdown to see if investing in pre-mixed mediums is better for larger projects like furniture.
How Do You Get That Rough, Pitted Concrete Look?
If stucco is the soft cousin, pitted concrete is the gritty, industrial brother. This texture is perfect for square planters or bookends where you want a raw, Brutalist vibe. The difference here is the volume of soda and the application tool.
For this finish, I push the ratio to 1:1—equal parts paint and baking soda. The mixture will be thick, similar to peanut butter. You cannot use a brush here; the paste will clump and look messy. Instead, use a stiff-bristled stencil brush or even a small piece of sea sponge.
Load your sponge with a small amount of the mixture and stipple it onto the surface. Stippling means repeatedly dabbing straight up and down. Do not drag the sponge. You want to build up the texture in layers. The first layer should be thin, focusing on coverage. Let it dry for about 30 minutes. Then, apply a second, thicker layer. In this second pass, dab aggressively to create peaks and valleys.
The danger with this texture is that it can feel dusty and fragile once dry. Because the baking soda creates such a porous surface, it will absorb moisture from the air and feel chalky to the touch. You must seal it. I recommend a water-based polycrylic in a matte finish. This is crucial; I often see beginners skip this step and ruin their work when they try to clean the vase later. If you have ever had a project feel weirdly sticky or tacky days after painting, it is usually a sealer or humidity issue. My guide on Why Does My DIY Spray Paint Feel Sticky and How to Fix It? explains the chemistry of why these budget materials need a proper topcoat to last.
Terrazzo: A Study in Controlled Chaos
Terrazzo has made a massive comeback, but real composite terrazzo is heavy and expensive. You can mimic the look of composite chips embedded in cement using a two-stage baking soda process. This is the most technique-heavy of the four, but the result is a designer look for pennies.
Start with your base layer using the 1:1 concrete recipe mentioned above. Choose a neutral base color like sage green, soft grey, or blush pink. Apply this heavily with a sponge and let it dry completely—usually an hour is safe.
Now for the chips. You do not buy chips; you make them. Squeeze small amounts of acrylic paint in contrasting colors (white, black, mustard yellow) onto a paper plate. Do not mix them with soda yet. Using a fine-tip artist brush or a toothpick, flick tiny dots of paint onto the dried base layer. You want them to look random, so vary the size from a pinhead to a sesame seed.
Here is the trick: while those wet paint dots are still fresh, sprinkle a tiny pinch of dry baking soda powder over them. Tap the vase gently to remove excess. This lifts the paint dots off the surface slightly and gives them a matte, stone-like finish, integrating them into the concrete texture rather than looking like paint sitting on top. Once dry, seal with two coats of matte polycrylic to protect the delicate "chips."
This technique works exceptionally well on flat surfaces, but it requires a steady hand on curves. If you are feeling adventurous with textures, this method pairs beautifully with architectural elements. You could easily apply a similar stucco or terrazzo finish to the cardboard edges used in DIY Architectural Wall Molding Using Only Cardboard Boxes to create a cohesive, high-end room installation.
Faux Distressed Pottery
The final texture is about age. It mimics a piece of pottery that has been buried or weathered for decades, perfect for those urns that look a bit too "new." This method relies on a "resist" technique using the different absorption rates of paint with and without soda.
First, paint your object in a base color that you want to show through the cracks—usually a rich terracotta, rust, or deep charcoal. Let this cure completely.
Now, mix your top coat. Use the 1:2 stucco recipe (lighter on the soda) but choose a color like cream, off-white, or pale blue. Apply this thickly over the dry base color. While the top coat is still wet, take a damp rag and gently rub it in random spots. You are not removing all the paint; you are just thinning it out to reveal the dark color underneath.
Because the baking soda paste dries quickly, you have to work fast. If it dries too much, you can use a piece of fine-grit sandpaper (220 grit) to lightly distress the edges once it is fully cured. The baking soda acts as a mild abrasive, making it very easy to sand back to create smooth, worn edges that look authentic rather than jagged.
The Reality of Soda Paints
There is a caveat to the baking soda trend that isn't always discussed on social media. While the aesthetic is stunning, the durability is not equivalent to fired ceramic or industrial stucco. These finishes are essentially thick layers of acrylic. If you put them outside in the rain, they will soften. If you use them as a flower vase with water inside, you must ensure the inside is sealed or use a glass liner, otherwise the moisture will eventually wick through the porous paint and cause bubbling.
Furthermore, the smell of baking soda and paint can be potent during application. Work in a ventilated area. The texture is also permanent; once you bake soda into the paint on a surface, sanding it back to the original plastic is a labor-intensive nightmare. It is a commitment.
However, for decor pieces that sit on shelves or side tables, this is the single most cost-effective way to elevate a room. It changes the tactile experience of your home. When you run your hand over a vase, it should feel cool and textured, not smooth and warm like plastic. That physical sensation is what signals "luxury" to our brains, and you can achieve it for the price of a box of pantry staples. The next time you see a shiny, cheap vase at a thrift store, don't walk past it. You are no longer looking at plastic; you are looking at raw material for your next stone masterpiece.
Read next
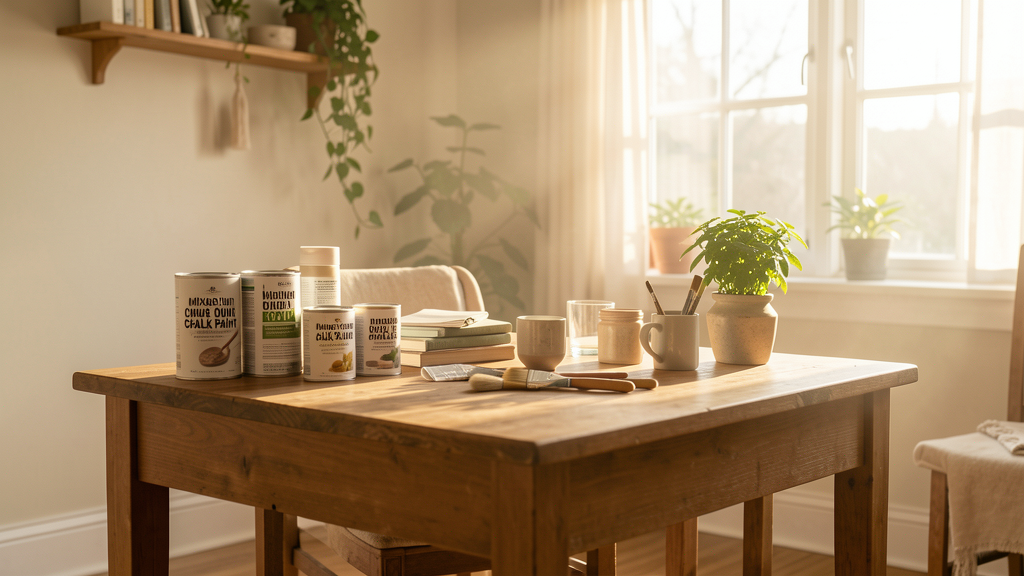
Mixing Your Own Chalk Paint vs. Buying Brand Name: The Cost Breakdown
Stop overpaying for tiny designer pots. I break down the exact 2026 costs and finish quality of mixing plaster of Paris with latex paint versus buying premade decorative brands.
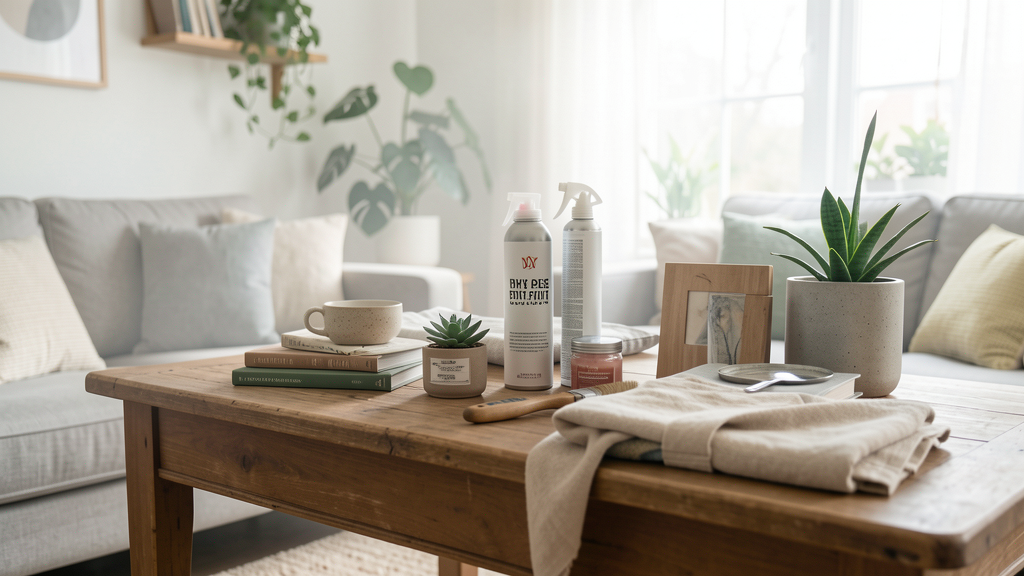
Why Does My DIY Spray Paint Feel Sticky and How to Fix It?
Discover why humidity traps solvents in your spray paint and exactly how to seal a tacky finish with a hardware store clear coat for a professional result.