The Floating Canopy: Hanging Curtains from Concrete Without a Single Drill Bit
Create a dreamy floor-to-ceiling canopy effect on unforgiving concrete ceilings using only tension rods and industrial-strength adhesive systems.


There is a specific kind of heartbreak reserved for renters who walk into a sun-drenched loft, only to look up and see a raw, unpainted concrete ceiling. It is the architectural equivalent of a "Do Not Enter" sign for anyone craving the softness of floor-to-ceiling drapery. I encountered this exact scenario last February in a converted industrial space in the Arts District. The concrete gave the room character, sure, but it also made the space feel cold, harsh, and oddly echoey. I needed to break that vertical line without losing my security deposit.
The standard advice for mounting curtains on concrete involves a hammer drill and a sleeve anchor—tools my lease strictly forbade me to use. I spent weeks researching alternatives, testing everything from magnetic ceiling mounts to fishing line. Most failed. The magnetic mounts were too weak, and the fishing line looked cheap. The breakthrough came when I stopped trying to fight the physics of the concrete and started playing with tension. By combining a lightweight tension rod with a high-grade hook-and-loop system, I managed to suspend the fabric from the ceiling, creating a canopy effect that looked bespoke rather than bootleg.
This method is not for heavy velvet blackout curtains; it requires a respect for weight limits and a patience for surface preparation. However, if you are craving that airy, high-end European aesthetic—where fabric seems to float from the sky—this is the only drill-free method that actually holds up.
Understanding the Physics of Adhesion on Concrete
Before you buy a single roll of tape, you have to understand the enemy. Concrete is porous. Dust settles into microscopic craters on the surface, creating a barrier between your adhesive and the actual stone. If you stick a command strip to a dusty concrete ceiling, gravity will win within hours. The texture of the ceiling matters immensely. A smooth, polished concrete slab accepts adhesive differently than a rough, broom-finished basement ceiling.
For this project to succeed, we are not relying on the rod's tension to hold the weight. That is a common misconception. The rod is merely the spine. The actual structural integrity comes from the hook-and-loop system adhered to the ceiling. We are essentially turning the ceiling into a track. The tension rod provides the horizontal stability, while the adhesive strips provide the vertical load-bearing support. This hybrid approach distributes the weight across multiple points rather than two small brackets, which is why it can support more than you might expect.
Sourcing the Right Materials
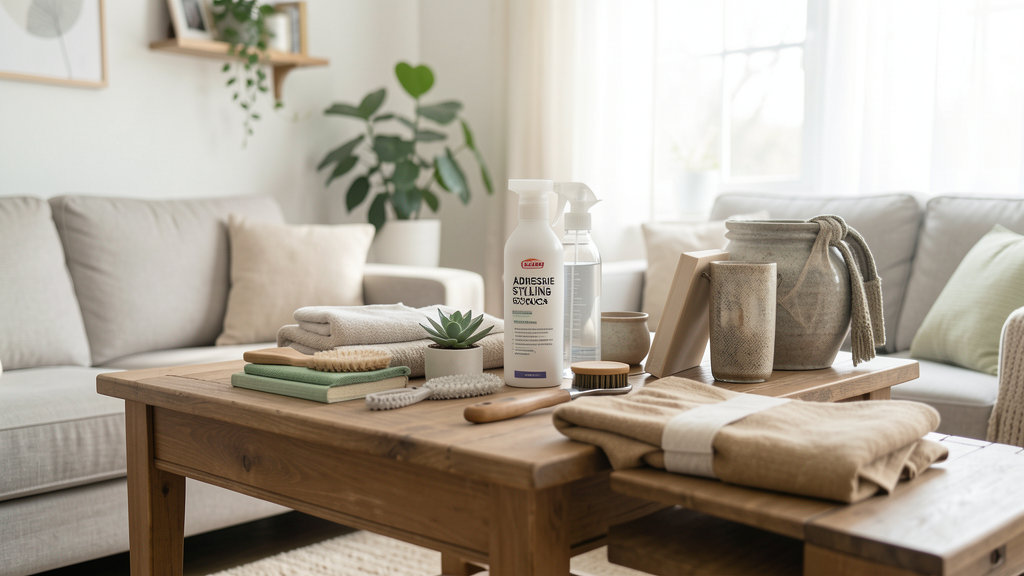
I cannot stress this enough: you cannot use the standard foam adhesive strips found in office supply stores. They will peel off the moment the humidity changes. You need industrial-strength fasteners. I personally use Velcro Brand Heavy Duty strips or a generic equivalent specifically rated for outdoor use. These usually feature a molded plastic hook and a strong adhesive that cures over time.
For the rod, avoid the thick, extendable metal rods designed for heavy patio doors. They are too heavy for the adhesive to support. Look for a 1-inch diameter stainless steel tension rod that is lightweight but rigid. If you are covering a wide span, you may need to use two shorter rods rather than one long one to prevent sagging in the center.
For the fabric, stick to sheers, lightweight linen, or semi-sheer voile. I used 250 GSM white linen panels for the loft project. They provided enough opacity to filter the light without weighing down the rig. When shopping, pick up a bottle of rubbing alcohol (at least 70% isopropyl) and a lint-free cloth. The alcohol is non-negotiable; it is the only thing that will degrease the concrete effectively.
The Step-by-Step Installation Protocol
This process requires about two hours of active work and 24 hours of patience. Do not rush the curing time.
1. Map the Zone
Measure the width of the area you want to cover. Subtract 2 inches from this measurement to determine the length of your tension rod when extended. You want a tight fit, but you do not want to bow the ceiling. Use a laser level or a simple measuring tape to mark two points on the ceiling where the ends of the rod will sit. Ensure these marks are equidistant from the walls. If you are installing multiple rods for a wider canopy, space the marks 30 to 36 inches apart to ensure the fabric drapes smoothly between them.
2. The Critical Surface Clean
Wipe the marked areas on the concrete ceiling vigorously with the rubbing alcohol. You will likely see the cloth turn gray as you lift the layer of construction dust. Let the alcohol evaporate completely. The ceiling must be bone dry before you apply the adhesive. If the ceiling is painted, check for peeling paint. Scrape away any loose flakes with a putty knife; the adhesive will stick to the paint, so the paint must be stuck to the concrete.
3. Prepare the Adhesive "Ceiling Plates"
Cut your industrial hook-and-loop strips into 4-inch segments. You will need two segments for each rod end (so four segments total per rod). Separate the hook side (the rough part) from the loop side (the soft part). Press the hook side firmly onto the ceiling at your marked locations. Apply pressure for a full 60 seconds. Friction heats the adhesive and helps it bond with the concrete pores.
4. Prepare the Rod Ends
Take the loop side of your strips. Wrap these around the ends of your tension rod. Since the rod is round, the strip will want to curl. Overlap the ends of the strip onto themselves so they create a secure "collar" around the metal tip of the rod. Ensure the soft loop side faces outward; this is what will grab onto the hook you stuck to the ceiling.
5. The Installation Lock
Extend your tension rod to the approximate width of your installation area. Lift the rod up and align the wrapped ends with the hook strips on the ceiling. Press firmly. You should feel and hear the strips engage. Extend the rod slightly more until it creates a gentle outward pressure against the walls (if you are using walls for stability) or simply rely on the "lock" of the Velcro if it is a pure ceiling suspension. Give it a tug. If it holds, you are ready to hang.

6. Hanging the Fabric
Avoid using metal grommets on top of the rod; the metal-on-metal noise and the extra weight of the grommets can destabilize the adhesive. Instead, use curtain clips (also known as ring clips) or simply fold the fabric over the rod and secure it with stitch witchery or safety pins if you are sewing averse. I prefer the look of knife-pleats. Clip the rings onto the rod, spacing them evenly. Because the rod is suspended, it will spin when you pull the curtains. You may need to add a small piece of double-sided tape between the rod and the loop collar to prevent rotation during use.
7. The Curing Period
This is the hardest part. Once the curtains are up, leave them alone. Do not open and close them for 24 hours. The adhesive on the ceiling needs time to reach its maximum bond strength. Moving the rod around while the glue is still setting will cause micro-tears in the bond, leading to a failure at 3:00 AM.
Styling the Canopy Effect for Maximum Impact
Now that the engineering is done, we can focus on the aesthetic. The goal of mounting curtains this high is to emphasize the concept of verticality, which makes the room feel significantly larger. When the fabric puddles on the floor, it creates a continuous line that draws the eye upward, masking the harsh reality of the concrete overhead.
I recommend "puddling" the curtains by 2 to 3 inches. This excess fabric on the floor anchors the installation and makes the rod look like a permanent architectural feature rather than a temporary hack. If you are using this method around a bed to create a canopy, install two parallel rods about 3 feet apart. Drape a single long panel over both rods. The fabric will create a "valley" above the bed, adding an immense amount of texture and softness to the room without requiring any headboard.
If the concrete ceiling is particularly ugly or stained, you can hide the top of the curtains and the adhesive strips by installing a shallow cornice made of foam board wrapped in fabric, attached with the same adhesive method. This creates a completely finished look that mimics a built-out millwork ceiling.
Removing the Setup Without a Trace
The biggest fear with any rental hack is the move-out inspection. Removing this setup requires a slow hand. Do not just yank the rod down. Heat the adhesive strips with a hairdryer for 30 seconds. This softens the glue without damaging the concrete. Gently pull the release tab straight down, keeping it parallel to the ceiling. Stretching the tab at an angle increases the risk of pulling paint or concrete chips off.
Once the strips are down, you might be left with some residual adhesive. Roll the residue off with your thumb or use a dab of Goo Gone. Wipe the area clean with water and a touch of soap. If you used high-quality adhesive products designed for rentals, there should be zero evidence that a curtain ever lived there.
This method is a trade-off. You are trading the ability to hang heavy blackout curtains for the freedom to alter your space without power tools. In a rental where the walls are concrete and the rules are rigid, that trade-off is worth its weight in gold. It allows you to claim the space as yours, injecting warmth and style into a structure that was designed to be cold and functional.
Read next

The Concept of Verticality: Using Temporary Molding to Raise Ceilings
Transform your cramped rental by using lightweight, adhesive-mounted trim to draw the eye upward and fake architectural height.
6 Adhesive Products That Guarantee You Get Your Security Deposit Back
A technical breakdown of six removable adhesives tested for residue-free removal on drywall, plaster, and tile to ensure you leave your rental pristine.