How I Filled a Massive Living Room Wall for Under $20 Using Drop Cloths
I filled a 14-foot living room wall with oversized canvas art using only painter's drop cloths and furring strips for a total cost of $18.47.


When I moved into my apartment in Jersey City in late 2025, the real estate listing lied. It said "spacious, open-concept living area." What they failed to mention was the "spacious" part referred to a 14-foot long, 10-foot high wall that had absolutely no architectural features. It was a drywall desert. For three months, that wall sat empty, mocking my bank account. I wanted an oversized triptych—something massive and textural to anchor the room. I looked at every retailer from CB2 to local art galleries. The cheapest piece I liked that would actually fill the space was $1,200. That was not happening.
I stood in a paint aisle at a hardware store in February 2026, staring at a stack of heavy-duty cotton canvas drop cloths, and realized I was looking at the exact same material used for high-end artist canvas. The only difference was the label and the price tag. A 6-ounce duck canvas stretcher at an art supply store costs $4 per square foot. A 9x12-foot painter's drop cloth costs $1.50 per square foot. I did the math on the back of a receipt. I could build a frame and stretch the canvas myself for under $20. This is the account of how I did it, the mistakes I made with the tension, and why the result looks more expensive than anything I could have bought.
Sourcing the "Unprimed" Canvas
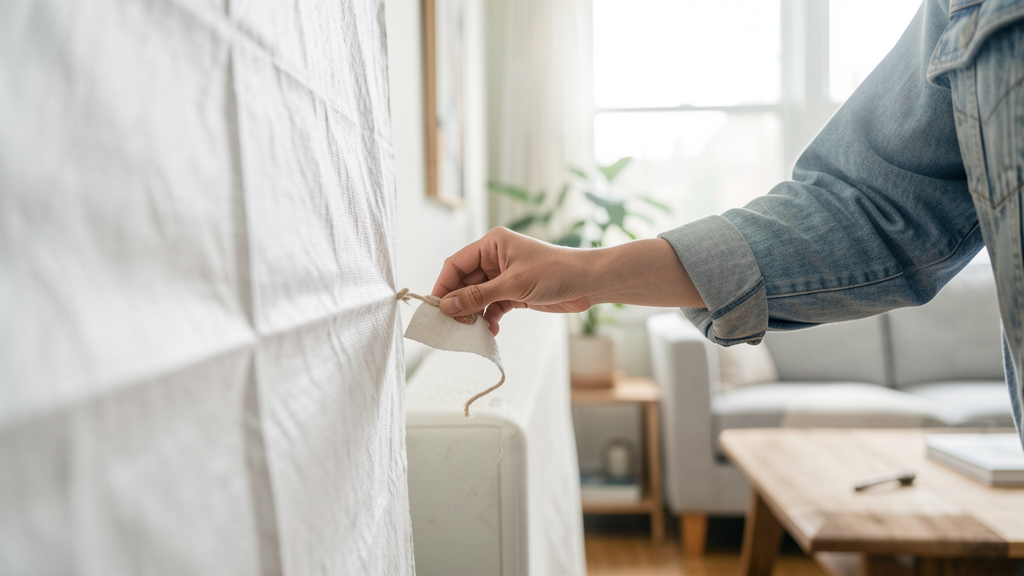
The secret to this project lies in the material selection. You cannot buy the cheap, poly-backed drop cloths that feel like plastic shower curtains. You need 100% cotton duck canvas. I went to a local hardware chain and grabbed their "Heavy Duty Cotton Canvas Drop Cloth" in the 9x12 size. It cost $14.87. It had a few wrinkles and a slightly yellow, "natural" cream tone straight out of the package.
Most people skip this step, but it is the difference between looking like you hung a bedsheet on the wall and looking like you bought art. The material comes treated with sizing to make it water-resistant, which gives it a weird, chemical sheen and stiffness. I threw the drop cloth directly into the washing machine with a cup of baking soda and hot water. I dried it on high heat. This does two things: it removes the sizing and pre-shrinks the cotton so your art doesn't sag a week after you hang it. When it came out, the fabric was soft, fluffy, and had a beautiful, consistent oatmeal texture that mimics Belgian linen.
The Frame: Furring Strips vs. Gallery Bars
Professional gallery wrap frames are made of kiln-dried pine with beveled edges to prevent the canvas from touching the wood and creating "ghosting" lines. I didn't have $80 for framing supplies. I walked to the lumber aisle and picked up two 1x2 furring strips at 8 feet long. Furring strips are rough, cheap pine meant for construction leveling, not fine art. They cost $1.87 each. Because my drop cloth was 9 feet wide and I wanted the final piece to be roughly 7 feet tall, I needed to create a frame that was slightly smaller than the fabric to allow for wrapping.
I cut the furring strips down to size—two vertical pieces at 7 feet and two horizontal pieces at 4 feet—using a handheld miter saw. I didn't sand them down to glass-smooth perfection because I wanted a bit of rustic grit. I assembled them using wood glue and 2-inch finish nails, ensuring the corners were square. If you don't have a saw, most big-box stores will cut lumber for you for free or a nominal fee. At this stage, my total investment was $18.61.
Stretching Without Expensive Tools
Stretching canvas is a test of patience. It requires tension, but not too much, or you will rip the fabric. I laid the washed drop cloth face down on the floor and centered my frame on top of it. I started by stapling the center of the top edge, then pulled the fabric tight and stapled the center of the bottom edge. I repeated this for the sides.
Here is where I messed up the first time. I tried to staple the entire perimeter in a circle. The canvas skewed, and the weave looked twisted. I had to pull out twenty staples and start over. The correct method is the "diamond" method. You work from the centers out toward the corners, doing a few staples on the top, then the bottom, then the sides, constantly moving around. I used a standard hand stapler with 1/4 inch staples. It was hard on my thumbs.
When I got to the corners, I had to fold the fabric neatly—like a hospital corner on a bed sheet—so the bulk of the fabric didn't create a lump on the front. I trimmed the excess canvas about two inches from the staple line. The result was a taut, drum-tight surface that felt solid when I tapped it.
Treating the Surface for a "High-End" Finish
At this point, the piece looked like a giant, blank beige rectangle. It was fine, but it wasn't "art." I considered using the 4 Textures You Can Mimic with a Mix of Baking Soda and Paint method to add some grit, but I wanted something softer for the living room. I decided on a dry-brushing technique to create a subtle, tone-on-tone landscape feel.
I mixed some leftover beige latex paint with water until it was the consistency of heavy cream. Using a wide, flat brush, I dipped it in the wash, wiped most of the paint off on a rag, and lightly swept it across the canvas in horizontal strokes. I didn't cover the canvas completely. I let the natural oatmeal color show through in patches. This created a weathered, driftwood effect that catches the light differently at various times of the day. It added depth without adding visual clutter.
Hanging the Beast
This was the most terrifying part. The canvas was massive—7 feet tall by 5 feet wide—and lightweight, but the frame was flimsy. If I hung it by a wire, the center would bow. I needed a French cleat. Since I was trying to stay under budget, I didn't buy a metal cleat. Instead, I ripped a piece of scrap plywood into a 4-inch wide strip and cut it at a 45-degree angle using a table saw.
I screwed one piece to the wall studs (I used a stud finder—do not rely on drywall anchors for something this wide) and the mating piece to the back of the canvas frame. This allowed the heavy art to slide down and lock into place securely. It distributes the weight across the entire width of the piece rather than two points.
The Reality of Living with DIY Art
It has been six months since I hung this piece. For a total cash outlay of $18.47 (I bought a box of staples I already half-owned), I filled a wall that would have cost thousands to outfit professionally. The canvas isn't perfectly white. The grain of the cotton is visible. It smells faintly of the washer detergent I used. It is imperfect.
However, because it is imperfect, it looks authentic. Guests assume I bought it at a high-end gallery in SoHo. They are surprised when I tell them it's a drop cloth. If you are staring at a massive, empty wall and refuse to pay premium prices for mass-produced prints, this is the solution. It takes a weekend, a little elbow grease, and the willingness to trust that cheap materials can yield a luxury result if you treat them with respect. If you prefer architectural depth over fabric, check out my guide on DIY Architectural Wall Molding Using Only Cardboard Boxes for another approach, but for sheer scale and softness, stretched drop cloth is unbeatable.
Read next

4 Textures You Can Mimic with a Mix of Baking Soda and Paint
Turn cheap, glossy vases into high-end ceramics by mixing pantry staples with acrylic paint for four distinct professional textures.

DIY Architectural Wall Molding Using Only Cardboard Boxes
Achieve a high-end European wainscoting aesthetic for under $15 by upcycling delivery boxes into architectural details that defy detection.