Can You Actually Transform a $30 Roadside Dresser into a Designer Credenza?
By strategically replacing the legs, hardware, and finish of a generic MDF dresser, you can achieve a luxury aesthetic for 90% less than retail.

I spotted the piece on a Tuesday morning in early February, propped against a chain-link fence with a "Free" sign hastily taped to the peeling laminate. It was a generic six-drawer MDF chest, likely from a big-box store circa 2010, suffering from water damage on the top and equipped with plastic drawer pulls that screamed "dorm room." Most people would have kept driving. I stopped, not because I saw a diamond in the rough, but because I saw a structural box that could be completely reimagined through aggressive editing. The question isn't whether you can fix up old furniture; it is whether you can force a generic, roadside item into the echelon of high-end design using only aftermarket parts.
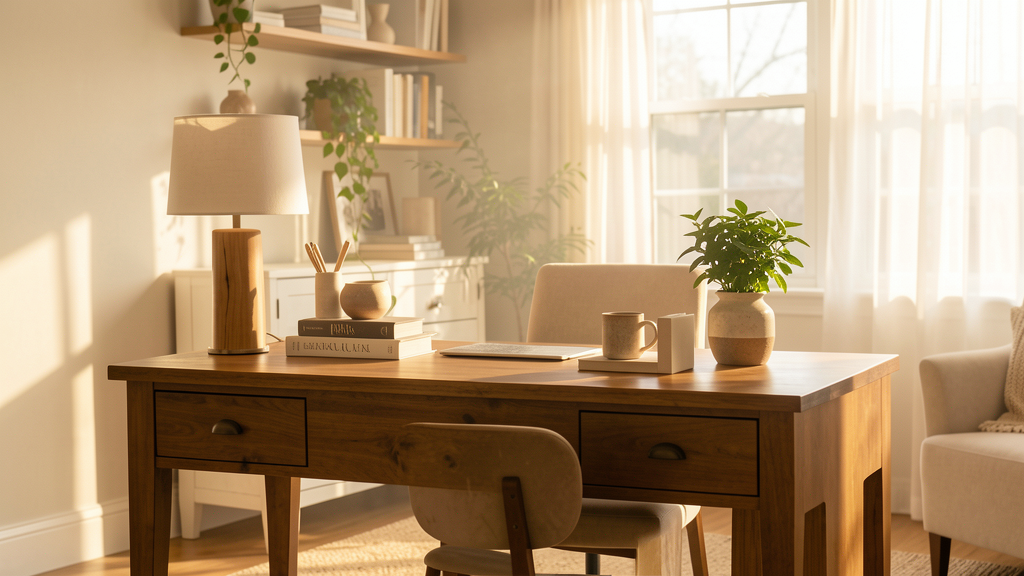
The appeal of the credenza lies in its grounding presence. Unlike a standard dresser which is often top-heavy and designed to disappear against a wall, a credenza is a statement piece. It anchors a room. The roadside find, which we will call the "February Box," had the right internal volume—36 inches wide by 20 inches deep—but it lacked the visual weight to hold its own in a dining room or sophisticated living space. To bridge that gap, I had to tackle three distinct elements: the footprint, the interface, and the skin. Ignoring any one of these would result in nothing more than a painted dresser, which is not the aesthetic goal here.
Altering the Proportion with Tapered Legs
The fastest way to date a piece of furniture is to look at what is happening at the floor level. The February Box sat on a simple, recessed toe kick that made it look like it was trying to hide. This is a common design trait in flat-pack furniture designed to maximize floor space, but it kills any illusion of elegance. My first move was to remove the bottom apron entirely to expose the raw bottom rail of the carcass. This is a nerve-wracking step because if you cut too much, the structural integrity of the bottom drawer fails.
I opted for 6-inch tapered wood legs in a natural white oak finish. This choice was deliberate. Metal hairpin legs, while popular in the DIY community, often lean too industrial or mid-century modern, which can fight with the "quiet luxury" aesthetic I was targeting. Wood legs, however, bridge the gap between the cabinet and the floor, creating a continuity that feels organic. By raising the cabinet 6 inches off the ground, we change the silhouette from a heavy block to a floating volume. This adds airiness to the room and allows light to flow underneath, making the space feel larger. The cost for a set of four high-quality tapered legs with mounting plates was roughly $45. While not cheap, it is a fraction of the price of buying new furniture with decent leg work.
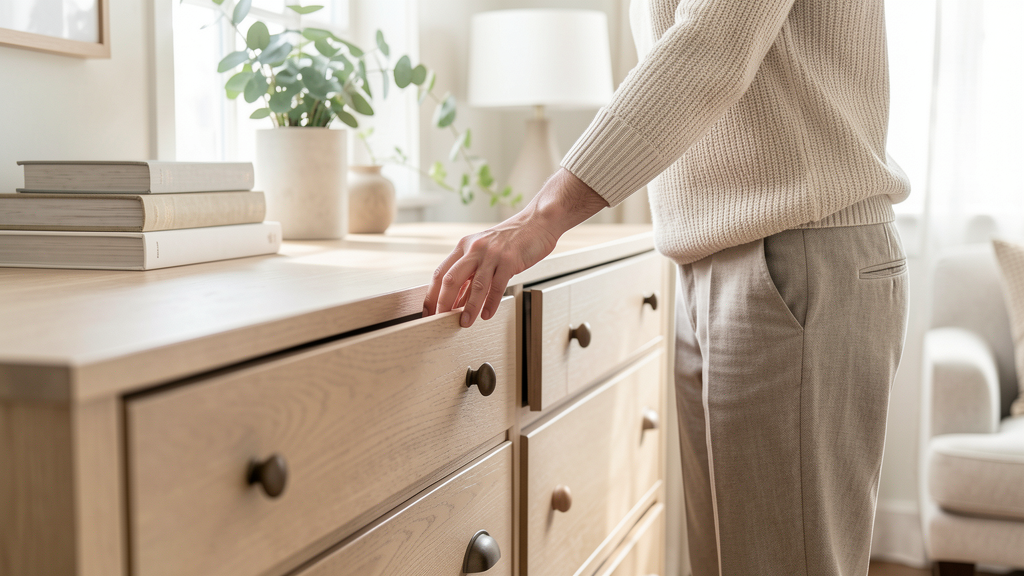
The Psychology of the Drawer Pull
If the legs set the stage, the hardware determines the character. The original plastic pulls were centered on each drawer, creating a fussy, rhythmic verticality that felt cluttered. High-end pieces typically utilize overscale or integrated hardware to create a sense of calm and intentionality. I removed the drawers and filled the existing holes with two-part wood filler, sanding them flush once cured. This is tedious, often requiring two rounds of filling and drying, but it is non-negotiable if you want to sell the illusion of a custom build.
For the new hardware, I sourced two 12-inch solid brass bar pulls and four 4-inch brass edge pulls. The installation strategy shifted the visual weight. Instead of pulling from the center, the top drawers received edge pulls, mimicking the look of a seamless cabinet. The bottom three drawers shared the long brass bars, creating a continuous horizontal line. This tricks the eye into seeing the bottom three drawers as a single, larger bank of storage, which is a hallmark of high-end Italian credenzas. This specific hardware selection links directly to the principles found in recreating the 'Quiet Luxury' aesthetic using only IKEA basics, where material quality does the heavy lifting. The brass alone cost $110, but it provides a tactile warmth that plated zinc simply cannot replicate.
Preparing Laminate for a High-End Finish
The biggest risk in this project is the surface. MDF wrapped in melamine laminate is notoriously difficult to paint because it is smooth and non-porous. I have seen too many DIYers skip the prep work, resulting in a finish that chips off in sheets within three months. You cannot just paint over laminate; you have to chemically alter it.
I started by lightly sanding the entire piece with 220-grit sandpaper. The goal here is not to remove the laminate but to roughen the surface enough to create "tooth" for the primer. I wiped away the dust with a tack cloth and applied a high-bond primer specifically formulated for glossy surfaces. I used an oil-based primer in a gray tint to help cover the dark woodgrain laminate. Oil-based primers are odorous and messy to clean up, but they provide a hard foundation that water-based alternatives often lack. After 24 hours of curing, I sanded the primer with a fine-grit sanding sponge until it felt like glass.
For the topcoat, I avoided standard latex wall paint. Instead, I used a waterborne enamel cabinet paint in a custom-mixed "Oyster" hue. This specific color bridges the gap between white and grey, offering warmth without the yellowing that often happens with pure whites. I applied three coats using a high-density foam roller to eliminate brush strokes. The result is a finish that looks factory-sprayed but has the subtle depth of a hand-rubbed lacquer.
The Logistics and True Cost Analysis
I picked this piece up in my hatchback. It was heavy, awkward, and required me to fold down the back seats, but it proves you do not need a massive van to furnish your home with unique finds. It completely dismantles the myth that you need a large vehicle to furnish your home with thrifted finds. The ability to transport a standard 36-inch dresser in a standard car opens up a world of inventory that is often ignored by casual shoppers.
Let’s look at the ledger. The dresser was free (valued at $0). The legs were $45. The hardware was $110. Primer, paint, sandpaper, and brushes totaled roughly $60. I also bought a pack of wood filler and new screws for about $15. The total investment came to $230. To put this in perspective, a comparable credenza in solid oak with brass hardware from a retailer like Article or CB2 would retail between $1,400 and $2,200. Even a lower-quality version from a mass-market retailer would hover around $600. This project achieves an 89% cost reduction compared to the high-end inspiration while arguably offering a more unique aesthetic.
There is, however, a trade-off. This is still an MDF box. While the paint protects it, it is not impervious to deep water damage. If a plant leaks on it for three days, it will swell. You do not get the centuries of life that solid wood offers. But for a seasonal rental or a modern apartment where style changes every five years, this piece is more than adequate. It functions perfectly, glides smoothly, and looks incredibly expensive.
The Verdict on Value Engineering
The exercise proves that the "cheapness" of flat-pack furniture is rarely a result of the materials themselves, but rather of the design decisions made at the factory level. A plastic leg costs $0.50 to manufacture; a tapered oak leg costs $8.00. A stamped metal pull costs $0.20; a solid brass bar costs $15. By swapping these components out, we are essentially performing an aftermarket upgrade on a car, replacing the stock parts with performance components.
The success of this transformation relies heavily on the specificity of the changes. If we had just painted it white and added new knobs, it would still look like a cheap dresser, just a cleaner one. It was the elevation of the silhouette through leg replacement and the horizontal integration of the hardware that signaled "luxury" to the observer. This approach requires sourcing skills, much like the strategy I employ when scoring a design lamp for $5 at an estate sale. You have to look past the surface and see the geometric potential underneath.
Ultimately, the value here isn't just the money saved. It is the removal of the disposable mindset. Instead of contributing to the landfill cycle of fast furniture, we intercepted a piece destined for the dump and injected it with new life and a distinct point of view. The resulting credenza does not look like a "DIY project"; it looks like a curated object. In a world saturated with identical interiors, that distinction is worth more than the $230 spent.
Read next

Can You Achieve the 2026 'Quiet Luxury' Look Using Only IKEA Basics?
Discover how to curate a high-end, textural beige interior using strictly entry-level Swedish flatpacks without violating your lease.

Myth: You Need a Large Vehicle to Furnish Your Home with Thrifted Finds
Learn how to furnish your entire rental apartment with unique second-hand pieces using only a compact car, strategic sourcing, and flat-pack logistics.